The difference in anchor performance between a site in Maunu and one down by the Hatea River can be stark. Maunu’s volcanic-derived residual clays grip a grouted tendon differently than the alluvial silts near the Town Basin, where groundwater sits just a metre below the surface. We’ve designed tie-back systems across Whangarei long enough to know that a generic bond stress assumption doesn’t work here. Our team sizes active anchors for basement retention on tight CBD sites and passive rock bolts for slope cuts along Riverside Drive, always calibrating the design against actual pull-out test results. In weathered basalt, the rock mass can look competent but crumbles under load – so we combine site investigation with a careful review of the weathering profile before committing to a bar type and free length. For deeper cuts where the ground profile is unclear, we sometimes run a CPT test first to map the transition from residual soil to bedrock without losing the continuous stratigraphy that rotary drilling can mask.
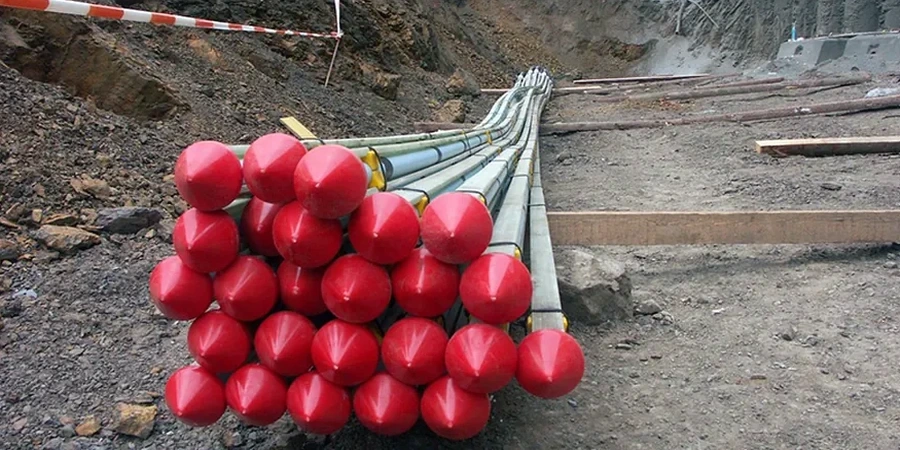
An anchor is only as reliable as the bond length in the local rock: we’ve seen Whangarei basalt deliver 400 kPa and 1,200 kPa on the same site, just 15 metres apart.
Questions and answers
What’s the difference between active and passive anchors?
Active anchors are tensioned to a lock-off load after grouting, which immediately pre-compresses the ground or structure and limits movement. They’re typical for tied-back retaining walls where you can’t tolerate deflection. Passive anchors aren’t stressed – they only develop resistance when the ground moves and loads the bar. We use passive rock bolts a lot on Whangarei’s road cuttings where some small displacement is acceptable before the bolt engages, and active tie-backs on CBD excavations next to sensitive buildings.
How much does anchor design and testing cost in Whangarei?
Anchor design and on-site testing typically falls between NZ$1,510 and NZ$5,500 depending on whether it’s a single sacrificial test or a full production anchor program with load cells and multiple lift-off visits. The final figure depends on the number of anchors, corrosion protection class, and the monitoring period required by the PS1 producer statement.
Do I need a test anchor for a small retaining wall in Whangarei?
Almost always yes, if you’re relying on NZGS guidelines for your producer statement. Even a small wall with four active anchors should have at least one sacrificial anchor tested to failure or to 1.5 times the working load. In Whangarei’s variable volcanic geology, two boreholes 10 metres apart can show completely different bond strengths, so skipping the test program means your design is based on an assumption rather than measured behaviour.
What corrosion protection class do I need near the harbour?
For permanent anchors within 3 km of Whangarei Harbour’s saltwater, NZS 3404 pushes you towards Class I double corrosion protection – corrugated sheath over the bond length, smooth sheath over the free length, and a factory-greased strand inside. Temporary anchors with a service life under 2 years can use Class II single protection, but we’ve seen enough corrosion pitting on extracted temporary bars near Port Nikau that we recommend Class I even for some 18-month construction programs if the groundwater is brackish.
How long does an anchor pull-out test take?
A proof test to 1.25 times working load with creep monitoring takes about 45 to 60 minutes per anchor once the stressing jack is set up. If we’re testing to failure on a sacrificial anchor, it can run longer – up to 90 minutes – because we hold incremental load steps for creep readings. On a Whangarei site with five test anchors, expect us to be on the ground for a full day including setup, testing, and demobilisation of the reaction frame.